The Do’s and Don’ts of Touching Up Paint

< Back
5 MINS
Painting Essentials
Painting Essentials | September 30, 2025
September 30, 2025
Share via
Just like a shouty stain on a white shirt or a piece of litter on a beautiful beach, your eye is drawn to a chip or a scuff on an otherwise perfectly painted wall.
Luckily, covering up those small imperfections is totally doable and not just reserved for the experts. Welcome to your ultimate guide on how to touch up paint, with practical touch-up wall paint tips and clever hacks for fixing paint mistakes like a pro.
When Should You Touch Up Paint?
You might be relieved to know that not all marks require a full repaint. Now that you’ve breathed that sigh of relief, here are the situations when a touch-up is suitable:
- Hairline scratches
- Nail holes
- Scuff marks from shoes or bags (see if you can wash off the mark first with a bit of soapy water before getting out the paint can)
- Paint chips from furniture bumps.
If the damage is larger than a R5 coin, or if the paint has noticeably faded, you might be better off repainting the whole wall. But for small stuff? A careful, well-blended touch-up is all you need.
The Do’s of Touching Up Paint
1. Do Match Your Paint Perfectly
When we say “perfectly”, we mean it. You’ll need the exact same colour. If you’ve got leftover paint from your original job, then yay (air punch)! Use it. If not, then aim to buy the exact same brand, finish, and colour code. Even “white” has a hundred versions.
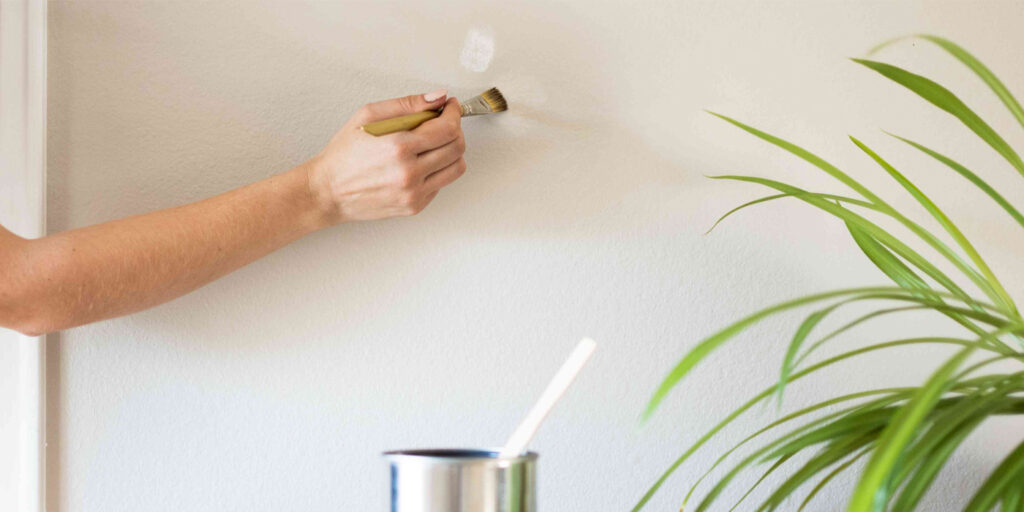
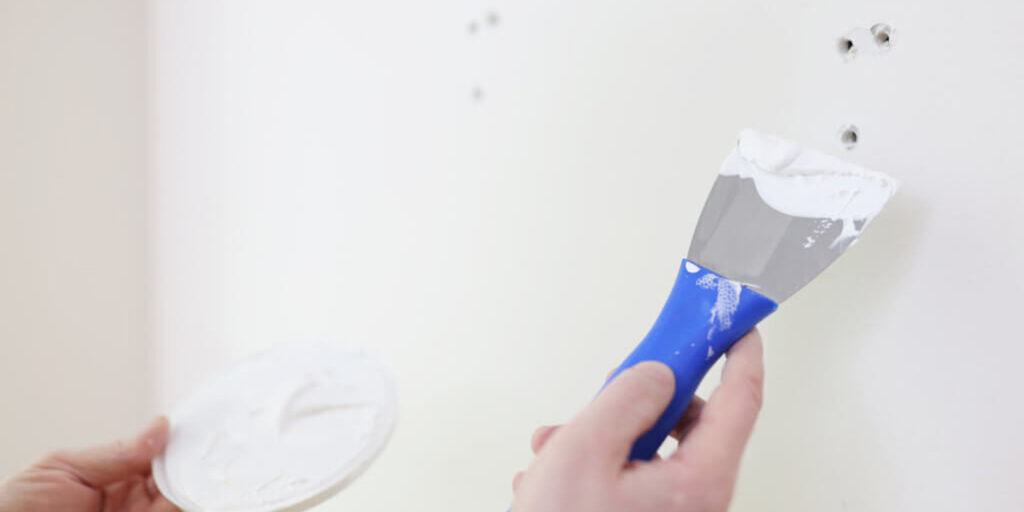
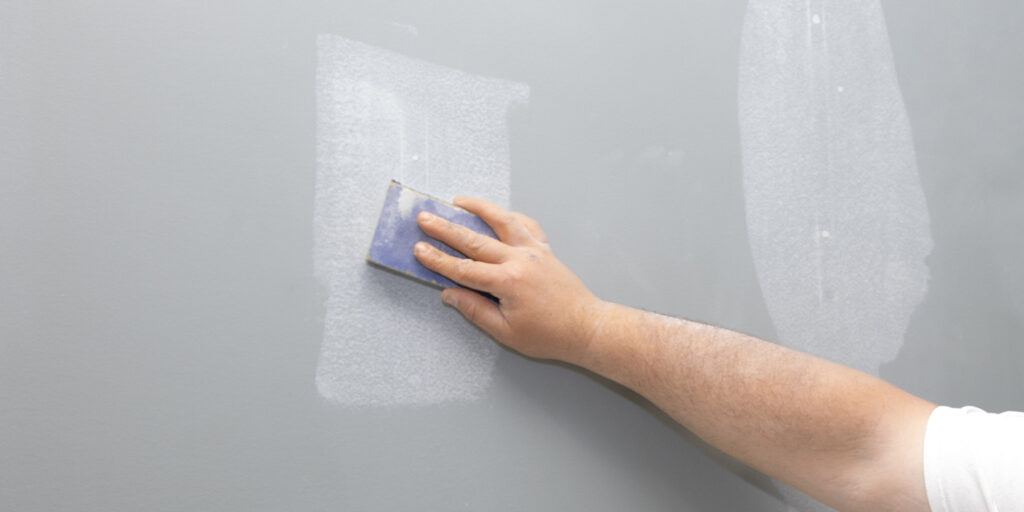
2. Do Prepare the Area Properly
Prep is half the job. It’s emphasised on every “How to Paint Guide”, and with touch-ups it’s no different: good prep is what will make a touch up invisible. So, start by cleaning the spot gently with a damp cloth and a little soap (if the wall is greasy). Fill any holes with filler, wait to dry, then lightly sand until smooth. Welcome to the next level.
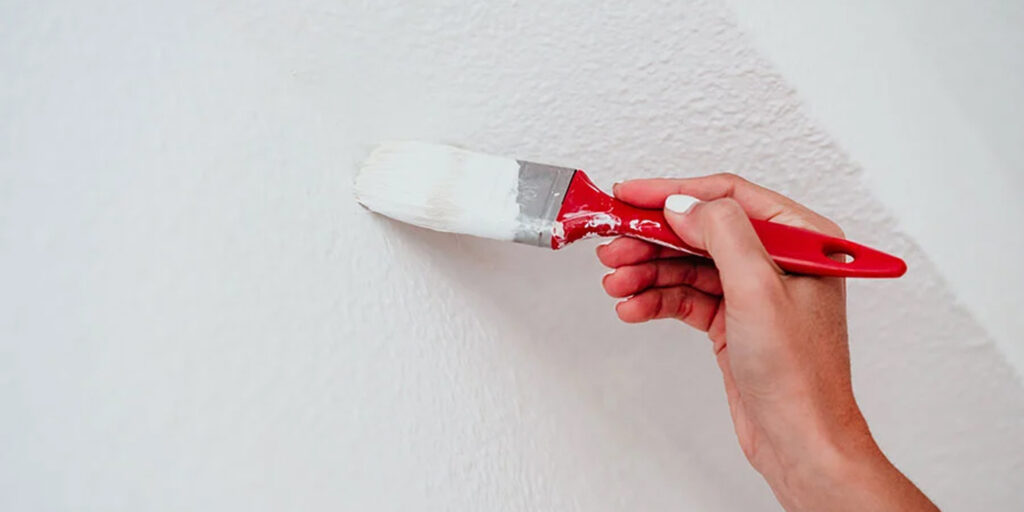
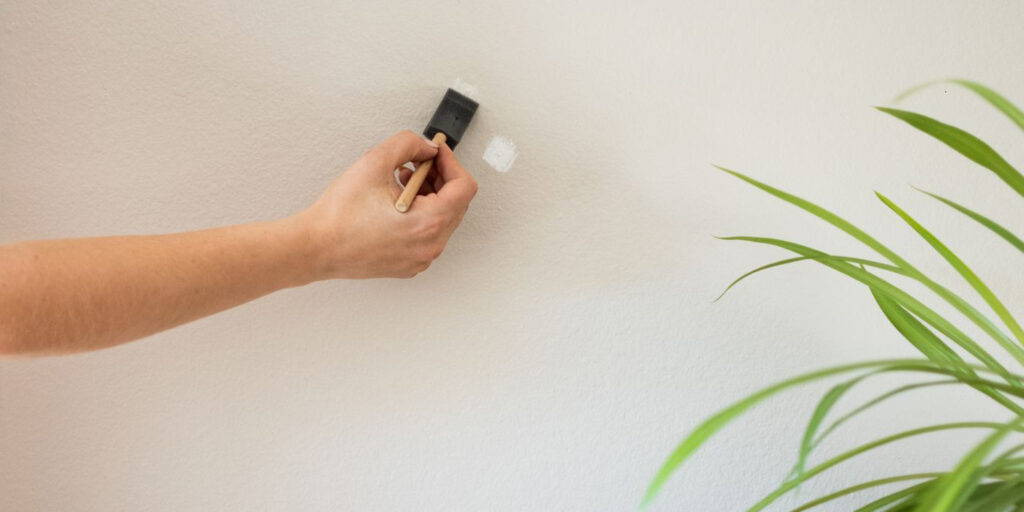
3. Do Use the Right Tools
A small job requires small tools. Like a surgeon with a scalpel, you want to be precise and steady. Think artist brushes, foam rollers (sometimes called “weenie rollers”), or even a touch-up pen for tight spots. Bigger tools = bigger mistakes.
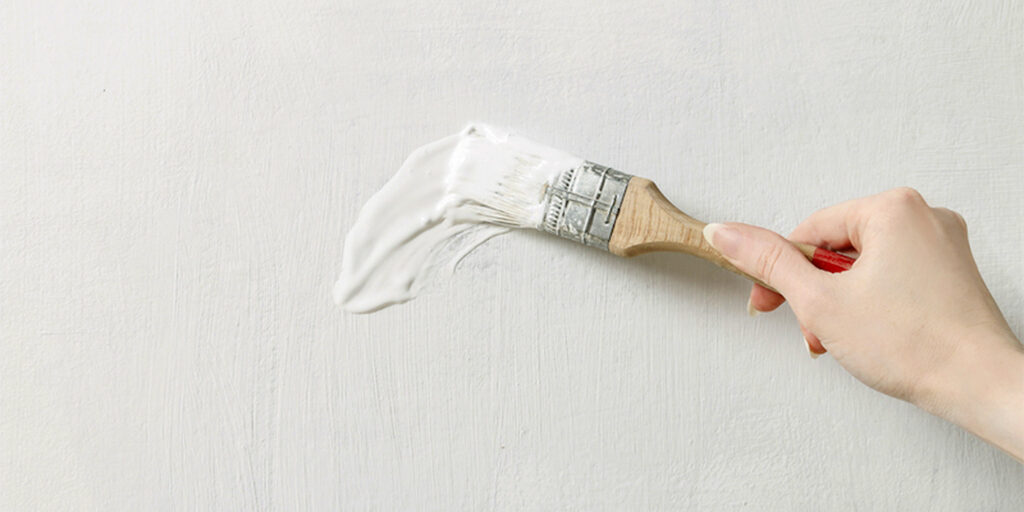
4. Do Feather the Edges
As the word suggests, you want to use “feather-light” brush strokes when blending the edges of your touch-up into the surrounding wall. This helps avoid those harsh paint “islands”. Opt for a bristle brush and not a foam roller when doing this. Learn more about feathering techniques.
The Don’ts of Touching Up Paint
1. Don’t Skip the Prep Work
As we’ve emphasised above, prep makes perfect. So, never skip cleaning, filling or sanding the spot you’re about to touch up. That’s a fast track to a lumpy, obvious patch, and a whole lot of regrets.
2. Don’t Paint in Poor Lighting
Always work in natural daylight if possible. Artificial light can distort colour, so when you’re colour matching you may be way off.
3. Don’t Overload Your Brush or Roller
Perhaps this is an obvious one, but it can’t be overstated. Be light when dipping your brush or mini foam roller into the tray. Too much paint = blobs, drips, and texture differences. Your touch-up won’t be invisible, it’ll be unmissable. The slogan here: Less is more.
4. Don’t Ignore Drying Times
Another Don’t that’s on every “how-to” Paint Guide. Let each coat dry completely before applying the next. Impatience = patchy disaster and hot mess.
Pro Tips for Seamless Touch-Ups
Test the Paint First
Try it in a hidden spot (like behind furniture). Paint can fade over time, so you want to be sure your paint will match seamlessly.
Blend with a Sponge
For an ultra-subtle blend, try dabbing the edges of your fresh paint with a slightly damp sponge (like a clean make-up sponge or kitchen sponge with no abrasive side). This hack works so beautifully you’ll want to share it.
Thin the Paint for Better Coverage
For small spots, thin your paint slightly with a little water. It glides on more smoothly and blends better for a flawless finish.
Fixing Paint Mistakes Like a Pro
Uneven Coverage?
No need to panic. Wait for the first coat to dry, then very lightly sand and apply a second coat using feathered strokes.
Mismatched Colours?
If the old and new touch-up colours look visibly different, you’ll need to repaint the whole wall instead of fighting or denying it, because it will always bug you. It might feel like a mission but you’ll be glad you did.
Previous Touch-Up Gone Wrong?
The French have a saying: “C’est la vie”. That’s life. It’s totally solvable – simply sand it down and start fresh, doing the proper prep and blending this time. It’s a learning experience.
Simply Colour: Your Touch-Up Toolbox
The Simply Colour online store offers everything you need for your touch-up To-Do. Browse our collection by colour category and get colour-matching advice.
Shop online for high-quality paints, touch-up tools, and primers. We make it easy to order just what you need, even if it’s only one litre of paint. Simply Colour makes touch-ups drama-free. Need help finding your perfect colour? Our expert team is just a click away.

Final Thoughts on Touching Up Paint
Don’t let the thought of a paint touch-up stress you out. As this touch-up guide shows, with the right prep, tools, and by working slowly and methodically, you can make minor blemishes and small paint mistakes vanish. Whether you’re a DIY boss or a total newbie, follow our do’s and don’ts to keep your walls looking fresh.
And when you nail that perfect finish don’t forget to tag us using #SimplyFlawless. We love seeing your DIY wins!
